UP TO THE MINUTE






Preparing metal roofs for success
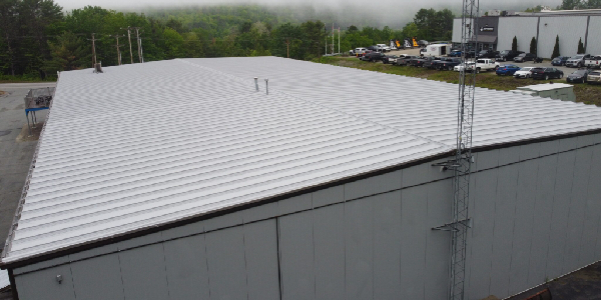
By Progressive Materials.
The best silicone coating product doesn't do anything if the surface underneath is not properly prepared.
When applied correctly, Progressive Materials’ 100% silicone coatings create a seamless, waterproof membrane on a roof that lowers energy costs. This product line specifically is also sustainable and cost-effective, among many benefits. However, your customers will not experience this range of benefits if the surface of the coating is not prepped properly. On the other hand, if you properly prepare your seams, your silicone roof can protect your metal roof for literal decades.
Horizontal seams
If you have worked on metal roofs, you know horizontal seams present some of the biggest issues. Whether it’s natural wear and tear or improper installation, if these seams begin letting water into the building, you have limited time before the issue becomes dire. In this blog, we will explore Progressive Materials’ guidelines for proper prep work on these seams. Additionally, there is a link below to a video that shows proper seam prep on a metal roof.
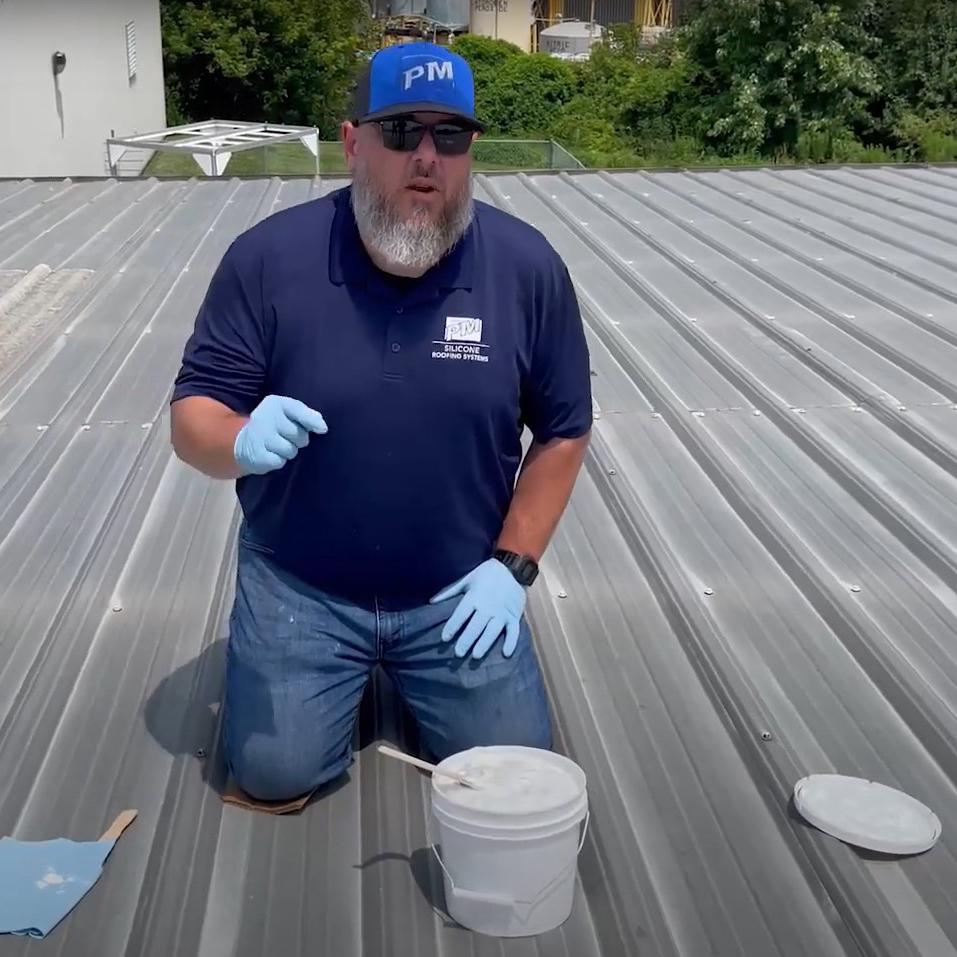 Proper prep: Metal roofs
A PM Silicone restoration creates a completely seamless membrane on top of the roof, alleviating all seam-related issues for years to come. But any seam problems that are there now should be remedied before silicone is applied.
Once a metal roof is on your building, it should remain structurally sound for decades. But once seams start to fail or fasteners back out, the roof will need attention. In their new video walkthrough, Technical and Education Coordinator Jeff Romero outlines the three different ways to prep a horizontal seam on a metal roof in order to qualify for a PM warranty.
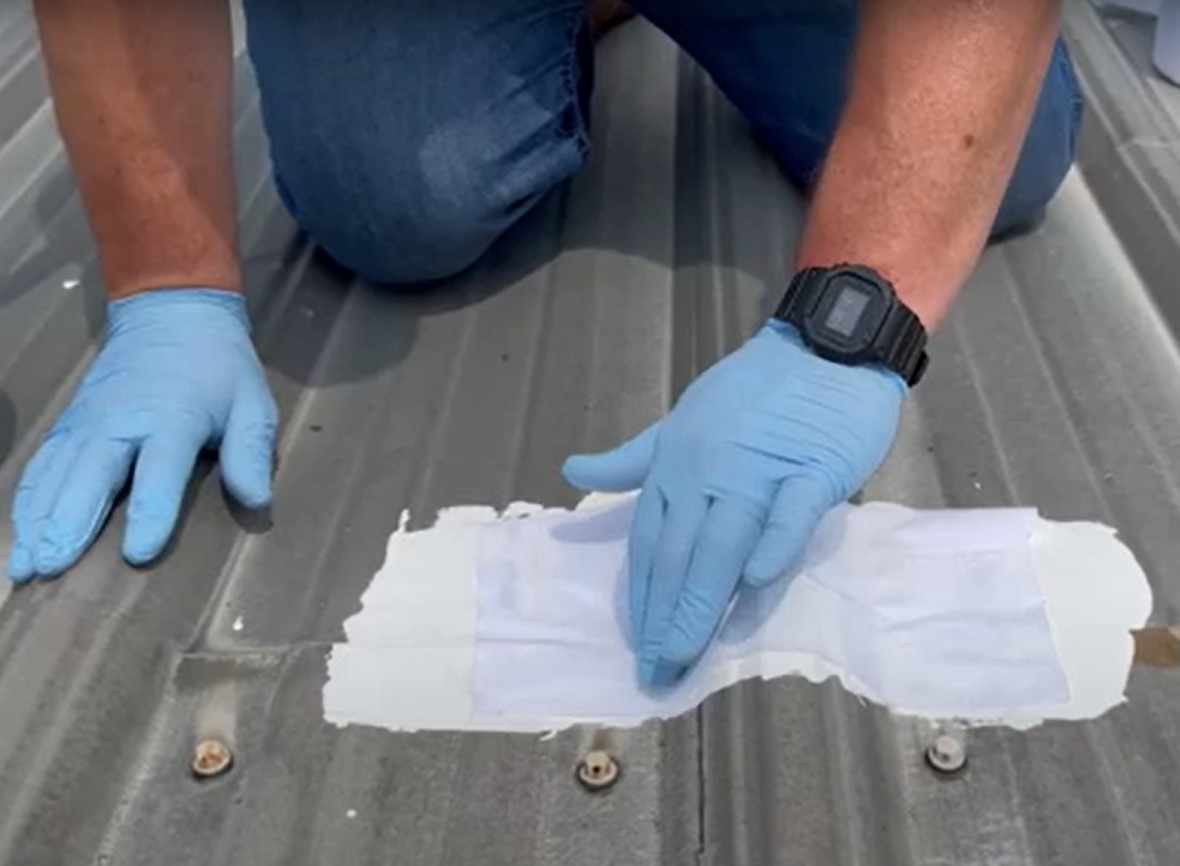
The first option is the three-course method. First, ensure the roof is clean and dry. Then, apply 10 to 15 mils of silicone top coat along the seams, embed fabric in that coating and then add another 10 to 15 mils of silicone atop that fabric. Jeff notes that you can use your fingers or a chip brush to ensure the fabric is properly embedded in the different angles along the seams.
The other PM-approved option for prepping seams on a metal roof features our FG 401 flashing-grade silicone. Simply use a chip brush to apply FG 401 along the seams. Make sure you brush the silicone down into the seams for needed protection. Once you have enough material on the seams, use the brush to smooth it out. That will also prevent damming water that will come from higher elevations on the roof.
Check out the full video tutorial on YouTube.
Original article source: Progressive Materials
Learn more about Progressive Materials in their Coffee Shop Directory or visit www.ProgressiveMaterials.com.
Recommended For You

The hidden profit leak contractors may be missing
Read More ...
The Ridge Vent That Stands Up to the Elements
Read More ...
Choosing the right tool for the job
Read More ...
UP TO THE MINUTE
Comments
Leave a Reply
Have an account? Login to leave a comment!
Sign In